

Blender Video Editing: A Practical Workflow for Short Clips
Blender video editing uses Blender’s Video Sequence Editor (VSE) to assemble, trim, reframe, caption, and render footage. It works well when a podcaster, streamer, or social team has already chosen the moments to publish and needs hands-on control over the finished clip. Blender can edit the material you give it, but it does not automatically scan a long recording and select its strongest highlights; that discovery step requires a separate process.
What Blender Video Editing includes
The VSE is a timeline-based editor inside Blender. It organizes video, audio, images, effects, and text as strips on channels, letting you arrange source material and combine it into a rendered result. Blender’s manual describes the VSE as a video-editing environment with tools for assembling strips and working with sequences (Blender Video Editing manual).
For short-form publishing, think of it as a manual finishing station: useful for tightening a selected moment, changing the frame shape, balancing sound, and adding graphic elements. Its flexibility comes with a trade-off: the editor still needs to locate the moment, decide where it begins and ends, and review the result.
- Podcast example: cut a 45-second answer from an episode after an editor has noted its timecode.
- Stream example: trim a reaction from a VOD, then reposition the gameplay and webcam for a vertical layout.
- YouTube example: turn a selected tutorial tip into a vertical cut with a readable title and captions.
- Agency example: edit locally stored client footage without making a cloud upload part of the editing workflow.
These are illustrative workflows, not performance promises. The right setup depends on the source format, project requirements, and how much manual review the team can provide.
Why the workflow matters for repurposing
A landscape episode and a vertical social clip are different compositions, not just different export settings. A speaker framed near the edge may be cropped out; a guest and host may not both fit; and a line that reads comfortably on a monitor can become tiny on a phone. Framing, pacing, and legibility have to be checked in the actual target shape.
Manual editing is valuable when the selection or context matters: a medical explainer may need its qualification kept with the claim, while a legal clip may need a surrounding exchange to avoid changing the meaning. A creator may also prefer to choose the exact joke, reveal, or teaching point. In those cases, cutting based on a transcript or timecode gives the editor control over context.
For high-volume repurposing, however, locating moments across hours of footage can become the slowest part. A useful division of labor is to use a person or a discovery tool to identify candidate moments, then use Blender for detailed editing where its timeline control is needed. Teams considering a more automated route can review our OpusClip alternative guide; that is a separate workflow choice, not a Blender feature.
Before opening the editor, define what “finished” means for the deliverable. For example, an illustrative starting policy for a social team could require a named source timecode, a target aspect ratio, a caption review, and an approved export location for every clip. Clear inputs reduce avoidable rework.
Set up a vertical project in the Sequencer
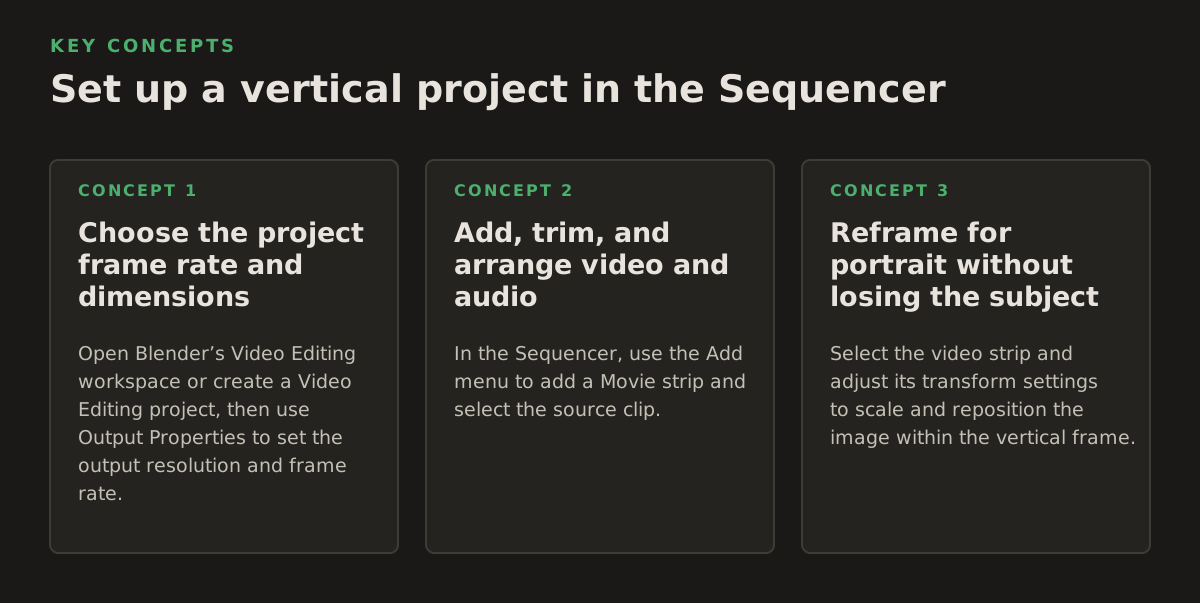
Choose the project frame rate and dimensions
Open Blender’s Video Editing workspace or create a Video Editing project, then use Output Properties to set the output resolution and frame rate. For a typical vertical social deliverable, a team might use 1080 × 1920 as an illustrative starting size, but confirm the destination’s current requirements before delivery. Match the project frame rate to the source when practical; changing it can affect motion cadence and the duration of frame-based edits.
Save the project before importing media, and keep source files in a stable folder. Blender projects can refer to external footage rather than embedding every source file, so moving or renaming media later can break those references. The VSE manual documents the editor’s sequence and strip workflow (VSE documentation).
- Set the frame dimensions and frame rate in Output Properties.
- Choose a project folder and save the .blend file there.
- Keep the original footage and audio in a known location.
- Use a clear sequence name, such as “episode12_vertical_cut01.”
Add, trim, and arrange video and audio
In the Sequencer, use the Add menu to add a Movie strip and select the source clip. Add a Sound strip when audio needs to be handled separately; Blender’s documentation describes movie and sound strips as distinct media elements in the sequence (movie strips; sound strips). Place related audio and video on separate channels so you can see and adjust them independently.
To trim, move the playhead to the intended cut and use the strip’s cut/split operation, or drag a strip edge to shorten its visible range. Move strips along the timeline to close gaps or create pauses. Preview the edit at normal speed: a cut that looks precise while scrubbing can still remove a breath, interrupt a word, or make a reaction feel rushed.
- Import: add the source video and any separate audio track.
- Find the selection: navigate to the supplied timecode or review the recording, then mark the desired in and out points.
- Trim: split or shorten the strip at those points and remove unwanted sections.
- Review: play across each edit and check that speech and room tone remain natural.
If the recording has separate camera and microphone files, synchronize them before making detailed cuts. For long or high-resolution footage, preview responsiveness can vary with hardware and source encoding; use Blender’s proxy or preview options if editing becomes sluggish, and check the manual for the controls available in your version.
Reframe for portrait without losing the subject
Select the video strip and adjust its transform settings to scale and reposition the image within the vertical frame. A center crop is a quick starting point for a single speaker who stays in the middle, but it is not a reliable rule for interviews, gameplay, demonstrations, or two-person conversations. Scrub through the whole shot after reframing: a subject who moves can leave the crop even if the opening frame looks correct.
For a two-person interview, decide whether the clip should show both speakers or follow the active speaker. Blender’s manual exposes strip-level controls for working with video strips (movie strip controls), but a reframed crop does not automatically track a person. If the subject moves, animate the position over time or choose a wider composition and accept smaller subjects.
Add captions, review, and render
Build captions that survive the crop
For a short clip with a few lines, add Text strips and set their content and appearance in the strip properties. Blender documents text as a VSE strip type (text strips). Place captions within a consistent safe area, away from the extreme top and bottom where platform interface elements may cover them. Preview at the final portrait size; a font that seems large in a desktop interface may still be hard to read on a phone.
Text strips are a hands-on option, not automatic speech recognition. An editor must transcribe the words, set their timing, and correct punctuation. For several minutes of dialogue, manually creating and aligning every caption can take longer than the picture edit. If captions are required, make a deliberate choice between editable on-screen text and a subtitle file supported by the delivery workflow, then verify that the final export displays or carries them as intended.
- Keep each caption short enough to read before the next line appears.
- Check names, technical terms, and numbers against the audio.
- Keep text clear of faces, demonstration details, and platform controls.
- Review caption timing with sound on and with sound off.
Render and verify the delivered file
Set the output path in Output Properties, select FFmpeg Video as the file format, and configure the container and codecs in the Encoding options. MPEG-4 with H.264 video and AAC audio is a common delivery combination, but check the intended platform’s current guidance before treating any preset as final. Blender’s manual explains output properties and encoding controls (Output Properties documentation); YouTube also publishes upload encoding recommendations in its Help Center (YouTube recommended upload encoding settings).
Render the sequence, then inspect the exported file, not only the timeline preview. Check the opening and closing frames, crop, caption timing, audio, and playback on a phone-sized display. A successful render only confirms that Blender created a file; it does not confirm that the content is framed, readable, or suitable for publication.
Where Blender’s approach breaks down
The practical limit is usually not whether Blender can make a short clip; it is how much work happens before and around the timeline. The editor must find the highlight, manage repetitive caption timing, and review every reframed shot. More timeline control means more manual decisions, which is useful for precise edits but can become a bottleneck when a team needs many candidates from each recording.
- Highlight discovery: a VSE timeline can trim chosen footage, but it does not automatically identify the strongest moments in a long episode.
- Speaker tracking: repositioning a crop is a manual framing task unless another process supplies tracking or shot-specific instructions.
- Caption volume: hand-built text strips offer control but require transcription, timing, and correction.
- Project portability: moved or renamed source files can interrupt a project that depends on external media references.
- Review requirements: sensitive, regulated, or context-dependent clips still need an appropriate human review process; local editing alone does not establish compliance.
For a single carefully selected clip, that work may be acceptable. For a podcast team processing multiple episodes or an agency producing many variants, estimate the time spent locating moments, reframing, captioning, and checking exports separately. If discovery dominates the workflow, changing the editor may not solve the central problem; the team needs a way to surface candidate moments first.
Choose the workflow that fits the job
Use Blender when an editor already knows what to cut and needs control over timing, composition, overlays, audio, and export. It is a reasonable fit for an occasional creator, a detailed custom edit, or a team with a defined local editing process. Make a reusable project template with the intended resolution, frame rate, channel layout, and caption placement so recurring edits start from consistent settings.
Choose a discovery-first workflow when the recurring task is searching long recordings for moments worth clipping. ClipForge is a Windows desktop tool that analyzes long-form footage locally, identifies candidate moments, and supports captions, reframing, batch processing, and optional YouTube publishing. That can complement Blender when editors want to discover and prepare candidates first, then finish selected clips in a timeline. Read more about local AI video editing if processing footage on the desktop is a workflow requirement.
For a practical next step, take one representative recording and note whether the time goes mainly to finding moments or polishing them. If polishing is the bottleneck, build a Blender template and test the Sequencer steps above; if finding moments is the bottleneck, try ClipForge to see whether ClipForge’s local discovery and batch workflow better fits your process.
Authored with NotFair SEO